Next to Christmas, Halloween is my favorite holiday. I just love handing out candy to all the kids each year, and I love decorating the house!  I saw the cutest craft in Woman’s Day magazine recently, that I just had to make. Cute little pumpkin lanterns, made from recycled jars! These are so easy and inexpensive to make, you can make a whole army of them! I decided to make mini ones for the kitchen table, and hutch using the glass jars from little scented candles. I’ve been saving them for a long time with no real purpose in mind, and this seemed the perfect use.
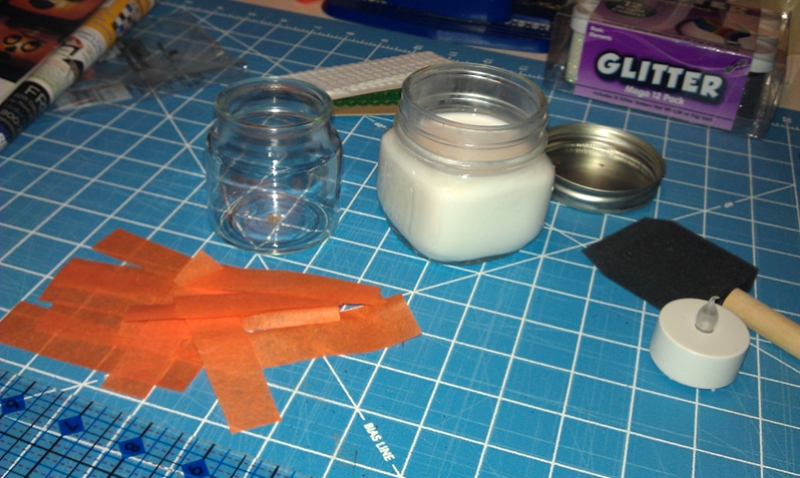
I found a package of orange tissue paper at Walmart for only 97 cents, and a package of 3 battery operated votive candles that flicker for $1.00 at my local Dollar Tree. So I spent only $2.11 total to make 3 mini’s. I always have foam brushes and my own jar of decoupage on hand. If you don’t, it’s easy… just mix 3 parts glue to 1 part water, store in a air tight wide mouth jar. For me that’s yet another recycled candle jar… my craft room is stocked with them.
The first thing to do is measure the length from just under the lip of your jar, around to the middle of the bottom. For the candle jars I used, that was about 3 inches. Cut about 12 strips of tissue paper 1 inch wide by the length of your jar. I didn’t measure mine to exact 1 inch width strips, I just eyeballed it.

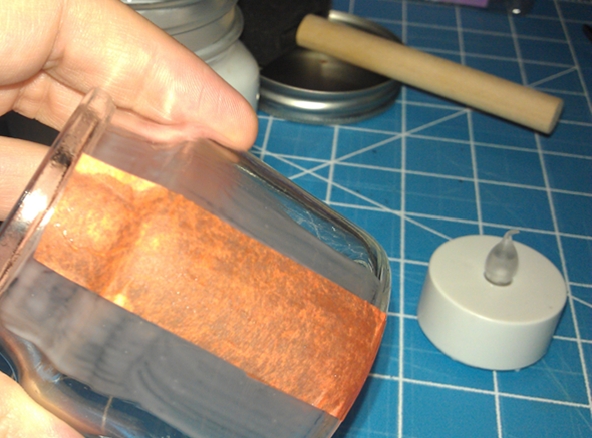
After the first strip of tissue paper, I stuck my fingers in it and held it upside down and starting laying the strips — start just under the lip. Brush on a layer of glue, lay on a strip of tissue paper and smooth it out, wrap it around the bottom. Brush a layer of glue over top of it and start layering them around, letting them overlap a little.

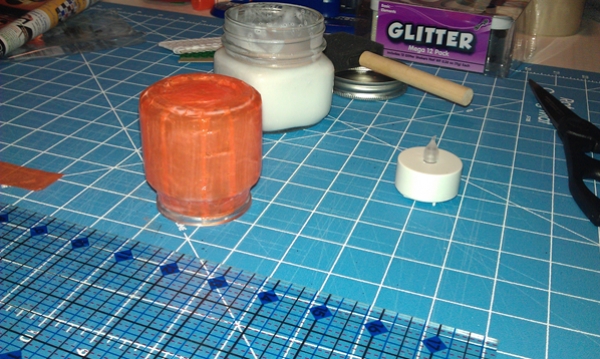
And now turn it over to dry. I really slathered mine good with the glue and I didn’t worry to much about there being a few wrinkles.

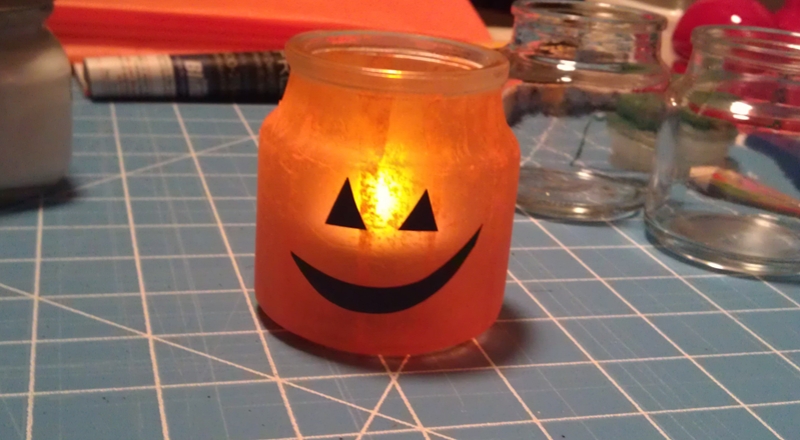
After my jar dried, I cut out my pumpkin’s eyes and happy grin from black construction paper and glued it on with my glue mixture. I covered the whole thing in one last layer of glue and set it upside down to dry again.

Once it’s dry, just place your votive in, turn off the lights and watch it flicker! HOW CUTE!!
The hardest part of this craft was the waiting for glue to dry! This was the first time I’ve used the battery operated votives, and I absolutely love the look of them. They look like a real flickering candle… and you don’t have to worry about burning the house down. At 3 for a dollar, I will be stocking up.
