Sending Christmas cards is a nearly life long holiday tradition for me. As far back as I can recall, one of the things I remember most is all the cards we would get for Christmas in the mail. I remember my granny taping them to the door frames of every room. I also remember getting stuck with the job of licking all the stamps for those dozens of cards we sent out, too! Thank goodness for self stick stamps!
These days I send out about 70 cards each year, and the ones I get, I use to decorate the house… I tape them to the door frames just like granny did. In years past I’ve bought the assortment pack of cards at the big box stores, and you can find some really nice ones – how I adore the get-all-over-you glittery ones!
But this year, I’m going for something a little more personalized. So, I’ve decided to order my cards online. While surfing around, I stumbled upon moo.com and found that they have some of the most beautiful cards on the internet! And the coolest thing? You can upload your own designs to have printed. Not only that, they even let you add your own image, or company logo to the back.
![]() While I found over 140 beautiful pre-made packs of holiday cards on the moo site – and yes, I looked at ALL of them, I really wanted to make a few of my own design. And since moo lets you upload your own artwork, in addition to choosing from their thousands of designs, you get to create truly personalized greeting cards. I also like that you can choose to add a pre-printed message inside. You control the color and font of the message – or leave it blank to write in your own messages later. Very cool, indeed.
While I found over 140 beautiful pre-made packs of holiday cards on the moo site – and yes, I looked at ALL of them, I really wanted to make a few of my own design. And since moo lets you upload your own artwork, in addition to choosing from their thousands of designs, you get to create truly personalized greeting cards. I also like that you can choose to add a pre-printed message inside. You control the color and font of the message – or leave it blank to write in your own messages later. Very cool, indeed.
So, if you decide to make your own card fronts, the first thing you need to do is download the template. It shows you how big your card front needs to be, and gives measurements for trim, bleed and safe area. Here’s a screenshot of the moo greeting card template:
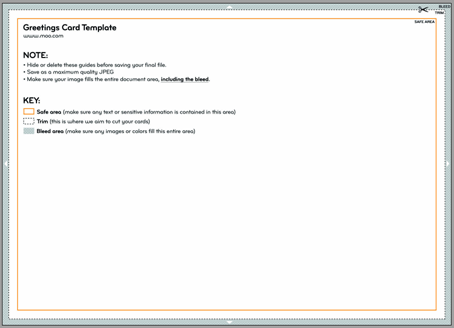
You want to make sure that anything sticking out of the “Safe Area” can be cut off. The safe area is just that. The safe area. LOL. Anything that sticks out beyound this point may be cut off during printing. Here’s mine, you can see what’s in the safe area. make sure no text is beyond those borders.
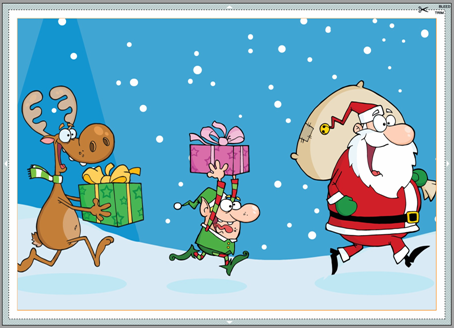
And here it is full bleed. You want your card front to stretch across the whole card, past the ‘trim’ area for best results.

You’ll want to get out your digital scrapbook papers and clip art for this project. I made a few of my card designs with certain people in mind. Others, I just had fun with bright backgrounds and cute clip art characters.
Make as many card fronts as you want and save them to a folder.That way when you place your order, you can find them quickly.
The moo site has a super simple interface that lets you upload your entire folder of images all at once. I was surprised at how fast my card fronts uploaded, but I am using chrome!
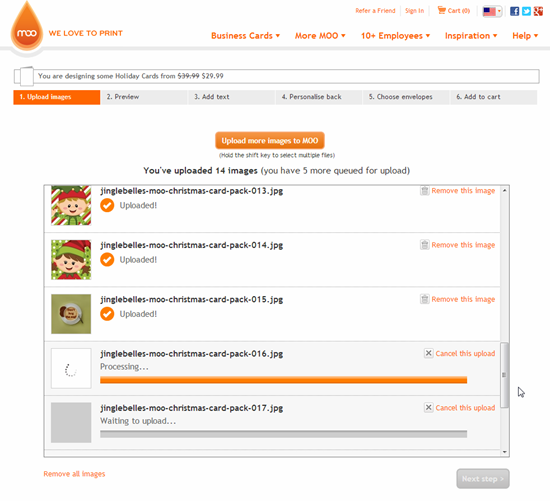
Once you’ve ordered your cards, now comes the hard part… waiting on them!
It didn’t take long at all for my cards to come. When they did, it was a glorious moment, indeed! I had been tracking the package online and knew it was out for delivery, so I was waiting when they got here.
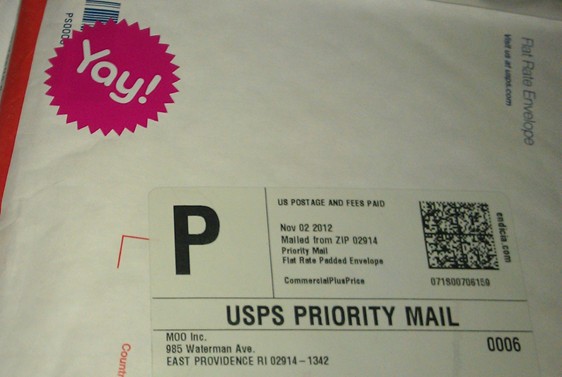
My first thought was YAY! and when I got the package out of the mailbox, there was a cute sticker that said Yay!. My moo order read my mind! ;)
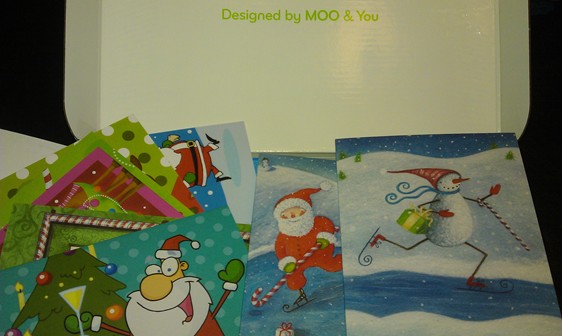
So, let’s get down to the nitty gritty, the quality of the printed cards. Frankly, it’s unbelievable. These greeting cards are printed on heavy weight cardstock and are very thick and sturdy. But what really impresses me is the silky, satiny finish they have.
As for the color print quality, excellent! I couldn’t be more pleased with how my card fronts printed, the colors are super bright, and crisp. See for yourself!
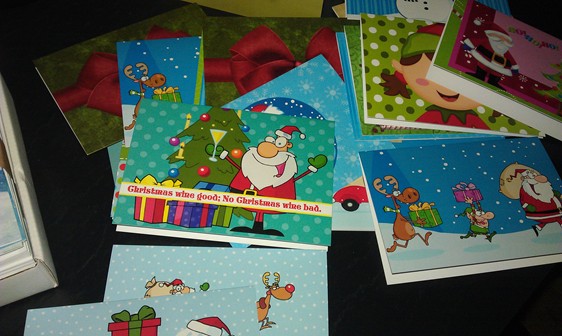
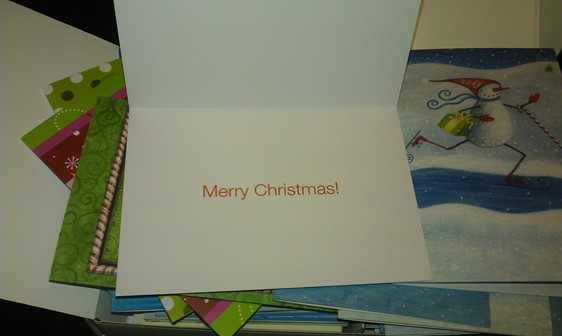
Here’s the inside, nice big greeting…
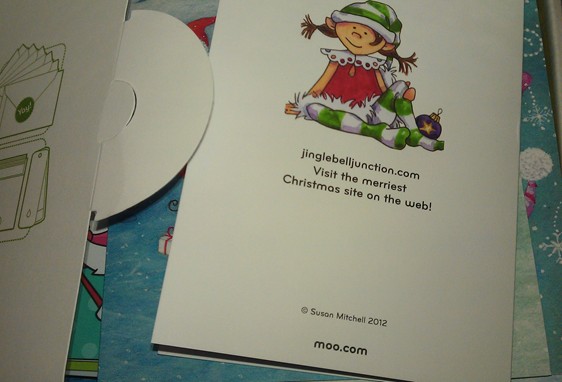
And the backside, look how cute my little elf girl avatar printed! And look how bright and sharp the black is. Be sure you use very high resolution images for the absolute best quality print. I did, and mine are seriously, much higher quality than I thought possible.
I’m super excited to be sending my moo cards! For those of you on my Christmas card list, you’ll see what I’m talking about. And while I have you here, I wanted to share my card fronts with you. Just click here to download the .zip file: Jinglebelle’s Christmas Cards
